

To maintain a men’s fade at home, clean up the neckline and sideburns every 1–2 weeks, lightly refresh the lower sides with clippers and guards (without cutting into the main blend), and keep the top styled with lightweight products like pomade, paste, or clay. The goal is not to redo the entire fade from scratch, but to extend its life between barber visits by keeping edges sharp, bulk under control, and the top neat.
Essential Tools for Home Fade Maintenance
You do not need a full barbershop setup, but a few quality tools make a huge difference:
- Lever‑adjustable clippers: Preferably with guards #0–#4. The side lever lets you create “half” guard lengths (e.g., 1.5) and blend lines more smoothly.
- Trimmer/edger: For cleaning necklines, sideburns, around the ears, and sharpening edges.
- Handheld or 3‑way mirror: So you can see the back and both sides without guessing.
- Comb or soft brush: To lay the hair in its natural direction and guide clippers.
- Styling product: A small amount of pomade, paste, or clay to style the top and keep the overall cut looking intentional.
If you want to understand clipper guards, trimmers and other tools more deeply before you start cutting, our barbering tools guide breaks down what each tool does in plain language.
Step 1: Prep Your Hair and Assess the Fade
Start with clean, dry (or very slightly damp) hair. Comb or brush the hair in its natural direction so you can clearly see where the fade has grown out.
Look for:
- Neckline fuzz growing below the original line
- Sideburns and hair around the ears looking “fuzzy” instead of sharp
- A heavier band of hair at the bottom of the fade where it’s grown out
Your aim at home is to tidy these areas—don’t try to rebuild the entire fade unless you already have clipper experience.
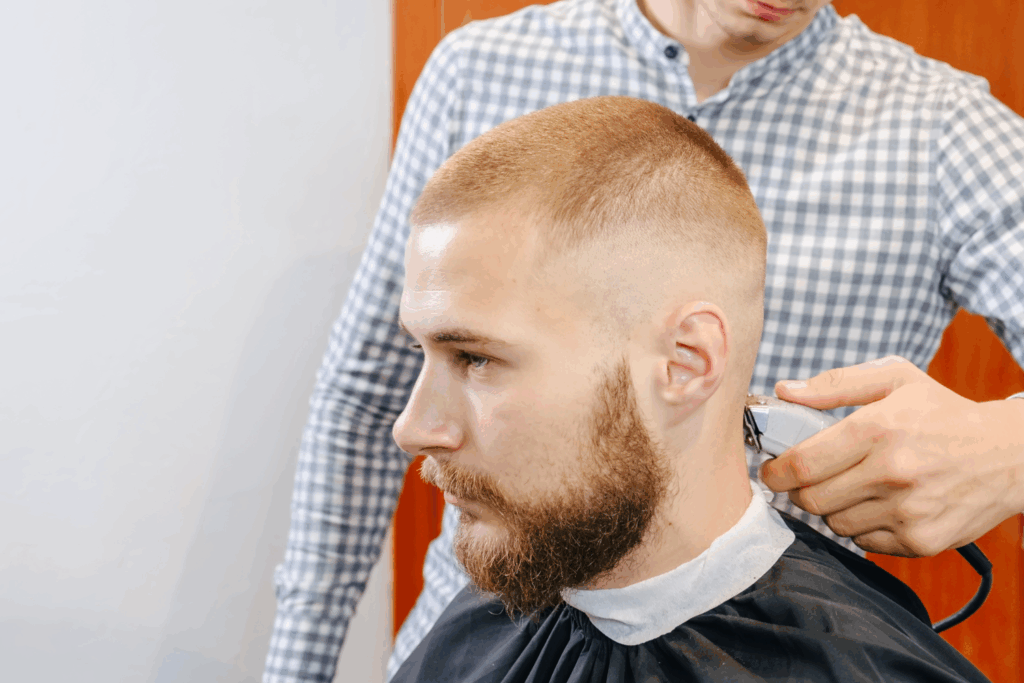
Step 2: Clean Up the Neckline and Around the Ears
This gives the biggest visual improvement for the least risk.
- Use your handheld or 3‑way mirror so you can see the back of your neck.
- With a trimmer (or clippers with no guard), carefully remove hair below your existing neckline. Follow the original shape your barber created instead of drawing a new one.
- Tidy around the ears and sharpen sideburn edges with the trimmer, taking off only obvious strays.
This alone can make a 2–3‑week‑old fade look fresh again without touching the blend.
Step 3: Lightly Refresh the Lower Sides
If the sides feel heavy or puffy, you can safely shorten just the lower band—without going into the main blend.
- Identify the bottom 1–2 cm of the fade (closest to the ears and neckline).
- Put a higher guard than your original fade on the clippers—if your barber used a #0.5–1 at the bottom, use a #1.5 or #2 so you don’t accidentally cut too short.
- Starting at the very bottom, move the clippers upward with a gentle “flick‑out” motion at the wrist to avoid creating a new harsh line.
- Work all the way around the head at the same height, then stop and check in the mirror for symmetry.
Do not chase perfection—your goal is to knock down bulk at the bottom so the fade grows out cleaner, not to redraw the whole fade like a barber would.
Step 4: Use the Lever for Small Blending Adjustments
If you see a faint line where you used the guard in Step 3, the side lever on the clippers helps soften it.
- With the same guard on (say a #2), move the lever to half‑open to create an in‑between length (often called “2.5”).
- Using just the corners of the blade, lightly flick over the line area rather than running the full blade across.
- Work slowly and keep checking in the mirror; using corners reduces the risk of pushing the fade higher than intended.
If you are new to fading, keep this blending very minimal—the more you chase lines, the more likely you are to over‑cut.
Step 5: Keep the Top to Your Barber
For most people, it’s safer to leave the top to a professional and only maintain the faded areas at home.
- If the top is longer and you just want it neat, you can lightly point‑cut small sections with scissors, but avoid taking big chunks off.
- Use product (pomade, clay, paste) to keep the top controlled and styled rather than trying to re‑cut it yourself. A well‑styled top makes the whole fade look more deliberate.
If you ever decide to change shape or length on top, it’s better to schedule a full appointment. Our guide on how to ask for a haircut can help you explain the fade and top length you want clearly to your barber.
Step 6: Style Daily So the Fade Looks Intentional
A fade looks best when the top is styled and the hair is controlled.
- Use a small amount of matte paste or clay for textured styles, or a light pomade for sleek looks.
- Comb or brush the top into your usual style (quiff, crop, slick back, etc.).
- For extra volume, blow‑dry the top while brushing upwards at the roots before applying product.
A quick 1–2 minute styling routine each morning keeps the haircut looking fresh even as it grows.
How Often Should You Maintain Your Fade at Home?
- Clean neckline and edges: Every 7–10 days
- Lightly refresh lower sides: Every 2–3 weeks, midway between full barber visits
- Full professional fade: Every 3–4 weeks for low/mid fades, 2–3 weeks for sharp high or skin fades
Think of home maintenance as extending the life of your barber’s work—not replacing it. A light tidy every week or two will keep you looking sharp without the risk of ruining your fade.
Common Mistakes to Avoid
Barber groups and at‑home maintenance guides repeat the same warnings:
- Trying to redo the whole fade yourself without experience—easy to go too high or uneven.
- Using too short a guard on the lower sides, which creates new harsh lines.
- Cutting into the blend area instead of staying below it.
- Rushing without mirrors, guessing what the back looks like.
- Over‑trimming the hairline, pushing it higher each time.
When in doubt, do less. It’s better to under‑cut and still book your regular appointment than to over‑cut and need a full rescue fix.
When to See Your Barber Again
Even with good home maintenance, you still need your barber to reset the fade:
- When the blend has grown out so much that the sides look like one length
- If you accidentally cut a visible step or line into the fade
- When you want to change fade height, shape, or overall style
- Every 3–4 weeks (or 2–3 for skin fades) to restore a clean, professional look
If you’re ready for a proper refresh or want to change your fade style, you can book with experienced barbers through Barbertainer’s booking platform and let them rebuild a clean, sharp fade that you then maintain at home.
For broader grooming advice around fades—what products to use, how often to cut, and how to match your fade to your face shape—our men’s grooming tips article is a good next step.